How to Can Like a Pro: Apple Plum Chutney
There’s something deeply satisfying about canning as you capture the flavour of the season in a jar so you can enjoy it long after the last leaves fall. And nothing beats that satisfying ‘pop’ as the jars seal perfectly!
We first made this chutney almost 16 years ago, when we gave it away as a little party favour for Kirstie’s wedding. We called it ‘Apple Plum Love Chutney’. So it’s been a while, and this year when we really got back into canning, this recipe had to be part of our journey.
This Apple Plum Chutney is one of our favourites to make when the markets are overflowing with apples and plums. It’s sweet, tangy, and full of warm spice, ready to be enjoyed all winter long with a roast pork or roasted turkey, grilled chicken, or your holiday cheese board.
Although there’s a healthy amount of chopping in this recipe, the yield is not so great that it’s daunting.
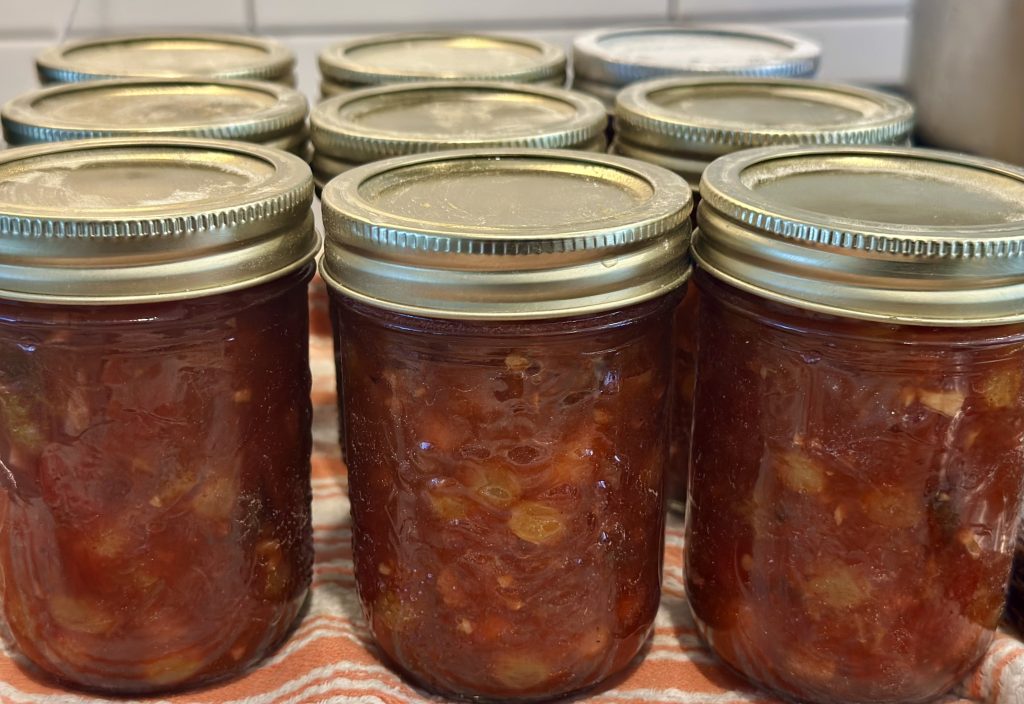
You’ll end up with just enough jars to keep and few to give away as gifts!
Before you actually get into the recipe, it’s important to understand the basic steps of canning at home.
The Basics of Canning at Home:
Canning can sound intimidating, but once you’ve done it once, it’s shockingly easy, and incredibly rewarding. Here’s the play by play
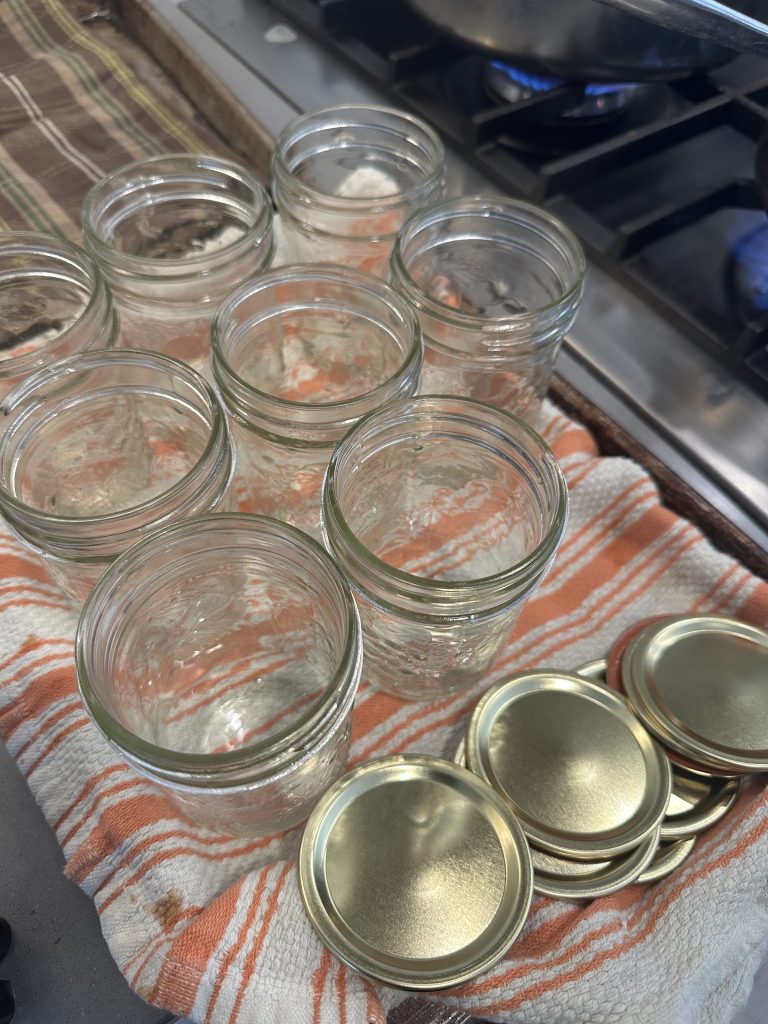
1. Sterilize your jars:
Start with clean jars (either brand new or washed).
Bring a large pot of water to the boil (likely the same pot you’ll use for processing). Reduce the heat slightly.
Using tongs or a canning tongs, place jars in the hot water to sanitize for a few minutes. Remove (we usually set them on a tea towel keep them warm until you’re ready to fill. You’ll find that you will get into a rhythm– dip jars, fill, process, repeat.
2. Fill the jars
Use a ladle or wide-mouth funnel to fill each jar, leaving ½ inch of headspace at the top. Wipe rims clean with a damp cloth to ensure a good seal.
3. Seal:
Soften the seals: add the seals (that’s the top with the orange rubber on the outside) to a small pot of just boiled water. This will soften the rubber. Top the jars with the seals and add the screw bands until fingertip-tight (you don’t want them to be too tight– this is key, we want excess air to be removed from the jars during processing). Return the filled jars to your pot or canner, ensuring they’re fully submerged, and boil for 10 minutes.
4. Process
Return the filled jars to your pot or canner, ensuring they’re fully submerged, and boil for the time recommended in your recipe (anywhere from 10-30 minutes).
Carefully remove jars and let them rest at room temperature for 24 hours. You’ll hear that satisfying pop as they seal. Once cooled, check seals, label, and store in a cool, dark place for up to a year.


I subscribe the updates and get links to recipes - I recently made the Olive Oil Lemon cake. It turned out delicious – as you said in the description, very moist! My daughter has a birthday in strawberry season and typically she asks for strawberry shortcake with a traditional shortcake recipe… I served the lemon came this weekend with a bit of whipping cream and fresh strawberries (your picture was quite enticing) and her comment was that her birthday request this year would be to replace the traditional shortcake with this recipe!


I made Dan Dan noodles last month and again referred to the recording as it has been awhile. I was grateful for the reminders, tips and tricks. Not to mention, I love to cook with Kirstie and Jody. They make it so much fun!
Most of the meals I make are from your repertoire. I think I have close to 60!


You will learn delicious recipes taught in real time from start to end by two good friends who want nothing more than to teach you how to cook and and have fun doing it. Class presentation is practical and encouraging with one chef starting and one playing 'catch up' so you do not miss anything and no question will go unanswered!
The recipe with food pack is perfectly packaged and always arrives on time to make it easy so you do not have to shop!
Several recipes from the Culinary Studio are in our regular rotation!
Excited to keep cooking with you Kirstie and Jody!

I was at the Studio for the very first class they held and I have continued to take classes for the past 13 years. While some things have changed over the years, the quality, knowledge and skills Jody and Kirstie bring to each class has not.The skills I learned through the their instruction have been used daily.

What you’ll need for Equipment:
1. A large, deep pot for processing. Once the jars are in, they will need to be covered by about 2 inches of water.
2. A smaller pot to heat the seals in.
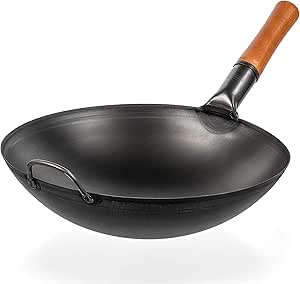
3. A heavy pot to make the chutney in.
4. Canning supplies we love: A pair of canning tongs is really helpful! Also this little lid magnet makes getting the hot lids from pot on the jar really easy. For filling the jars and keeping things clean, use a large canning funnel.
5. Jars! For this recipe we used both the 250ml and the 125ml size of jars. We save the 500ml & 1L jars for pickles.
6. A good knife & cutting board, and ladle and a peeler.
- Prep Time: 45 minutes
- Cook Time: 60 minutes + 25 minutes
- Total Time: 3 hours
- Yield: 14 cups 1x
Ingredients
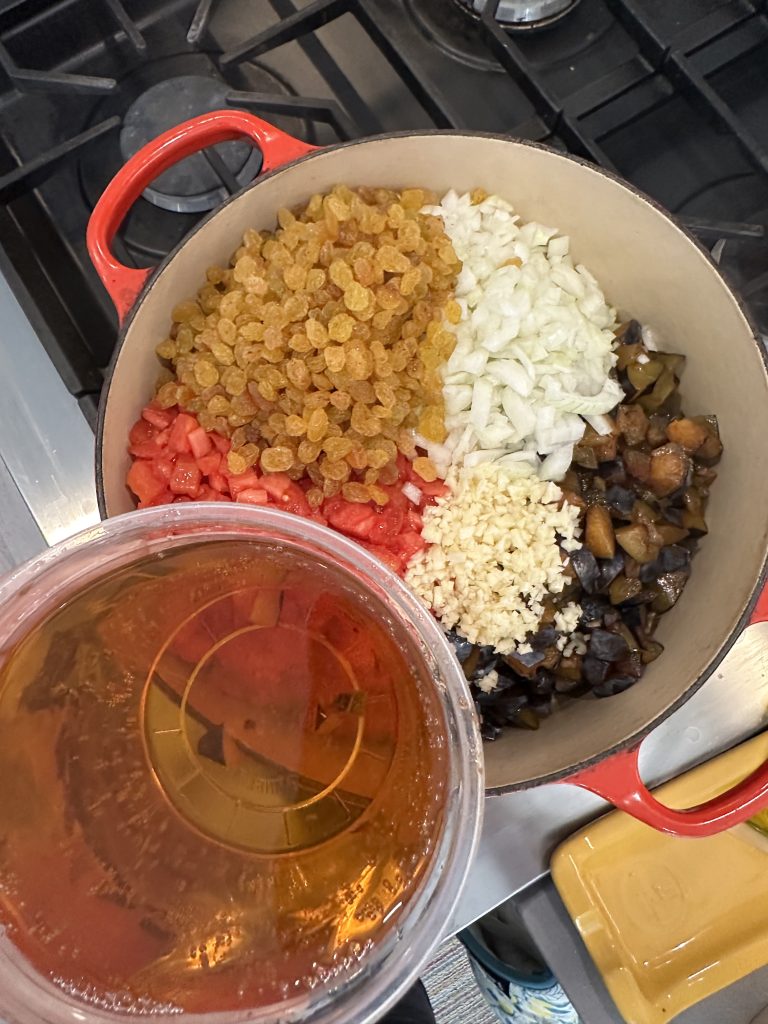
- 8 cups diced apples (cored & peeled)
- 5 cup diced tomatoes (peeled–see note below). We used about 8 Roma tomatoes
- 4 cups chopped pitted prune/blue plums
- 2 1/2 cups diced onion
- 4 cloves garlic, minced
- 2 cups golden or sultana raisins
- 4 cups apple cider vinegar
- 3 cups packed brown sugar
- 1 tbsp. curry powder*
- 1/2 tsp. ground allspice
- 1/4 tsp. cayenne pepper
- 1 tsp. pickling salt
Instructions
NOTE: To peel tomatoes: core them. Score the bottom. Drop in boiling water for 1-2 minutes. Remove to an ice bath and peel.
NOTE: This recipe makes about 3 1/2 L (14 cups) of chutney, so depending on what size jars you use, this will determine your yield.
- In a large, heavy pot combine the apples, tomatoes, plums, onion, garlic, raisins and vinegar.
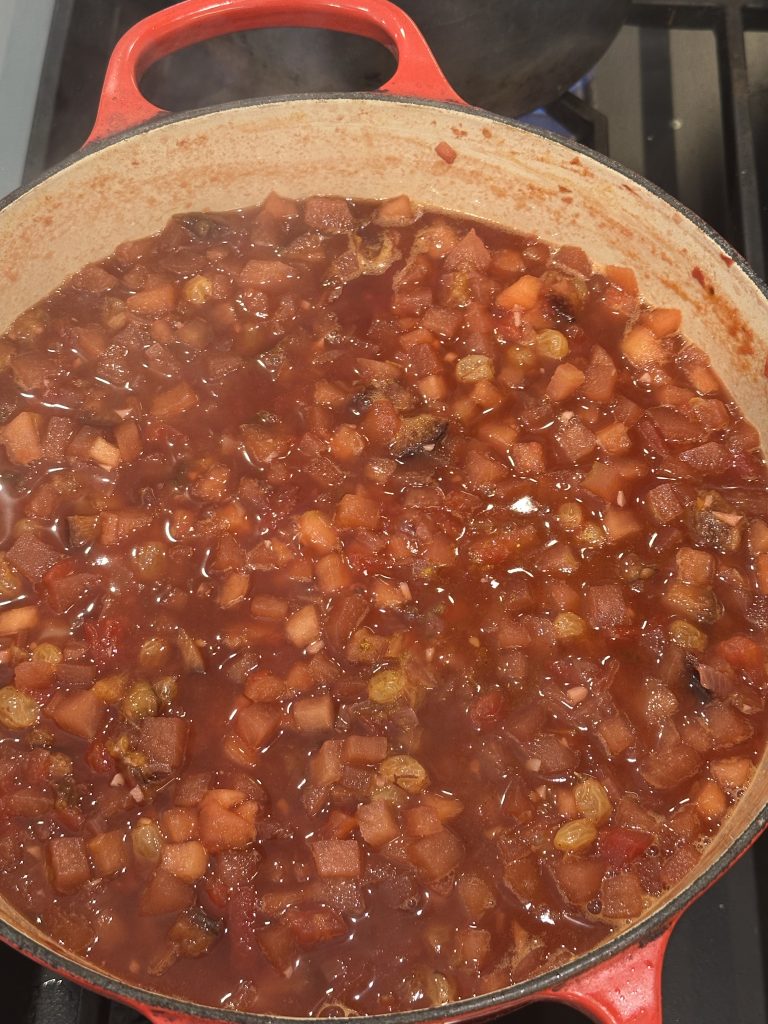
- Bring to a boil, then reduce heat and simmer gently, uncovered for about 30 minutes, stirring occasionally.
- Add sugar and continue to simmer (almost a boil) for 20-30 minutes, or until thickened. Stir frequently. Now that the sugar is in, we don’t want it to burn!
- Add the spices and salt and cook for a final 5 minutes.
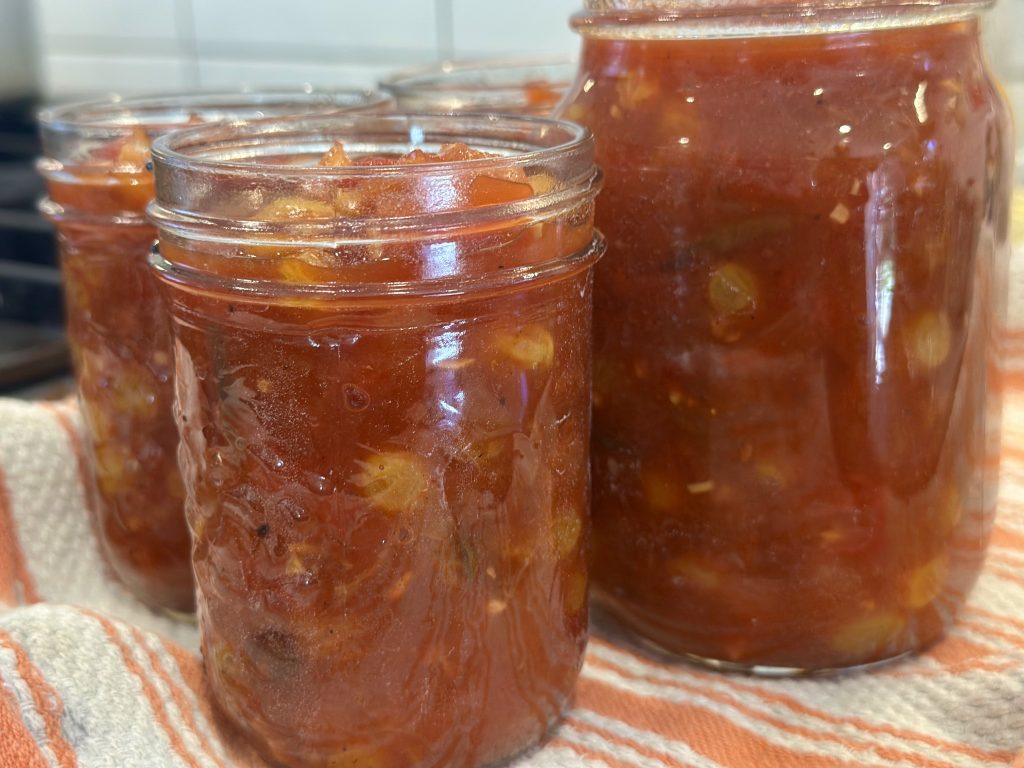
- Now it’s time to fill and process!
- Using the tips above, fill your hot jars, leaving a 1/2 inch of headspace between the chutney and the lid. Add the hot lids, screw the band on (not too tight!) then carefully lower into the boiling water of your large pot.
- With the water still boiling, process for 10 minutes for 250ml jars, 6 minutes for 125ml jars. 15 minutes for 500ml jars.
Notes
How to Enjoy this Chutney:
-
Spoon over roasted meats or grilled sausages.
-
Add a dollop to your cheese and charcuterie board.
-
Stir into mayo or yogurt for a quick, tangy sandwich spread– think a leftover Turkey Sandwich!
-
Give it as a homemade holiday gift–it’s a guaranteed hit.
Storage & Make-Ahead Notes for Chutney:
-
Fridge life: If not canning, the chutney will last up to 3 weeks in the fridge.
-
Freezer option: Transfer cooled chutney to freezer-safe containers for up to 6 months.
-
Make-ahead: The flavours deepen beautifully after a day or two, so making it ahead is encouraged!
- Once canned it is good for about 1 year in a cool, dark place.
Final Thoughts from Jody & Kirstie:
The trick to great chutney is balance: sweet, tangy, spicy, and savoury all at once. Taste often, and don’t be afraid to tweak the spices or vinegar level to make it your own.
We love that this recipe uses local fruit and transforms late-season produce into something extraordinary. Every spoonful tastes like fall in a jar, and we promise, once you hear those jar lids pop, you’ll be hooked on canning for life!