
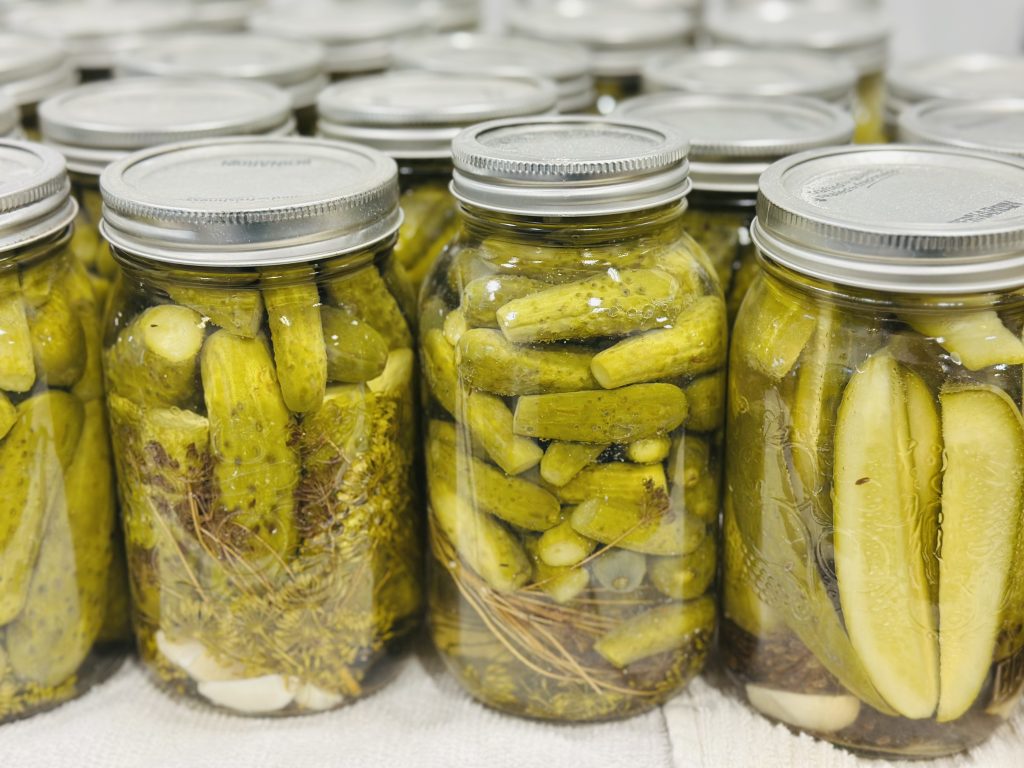
TL;DR: Homemade dill pickles are all about good pickling cucumbers, a properly acidic vinegar brine, fresh dill, garlic and mustard seed. If you want shelf-stable dill pickles, use 5% acidity vinegar and follow a current tested boiling-water canning process without changing the vinegar-to-water ratio or processing time.
After a few years away from homemade pickling, we decided it was time to bring it back. So we gathered friends, hockey moms & sisters-in-laws and had a good, oldAnd apparently we waited too long, as when we brought the first batch of homemade dill pickles home, Jody’s daughter proceeded to polish off an entire jar herself.
We have both spent more than 20 years cooking professionally, but pickling is one of those kitchen jobs that still feels wonderfully old-school. You bring home a pile of cucumbers and armloads of dill, line up the jars and suddenly your kitchen looks like something your grandmother would recognize.
Kirstie has been calling herself Oma Jr. for years, so frankly, this was inevitable.
But making dill pickles is also serious kitchen science. When you are canning something for shelf storage, acidity, temperature, headspace and processing time aren’t suggestions. They are what make home canning safe.
So let’s make a great pickle, but let’s also understand exactly what we’re doing.
How Do You Make Homemade Dill Pickles?
Great homemade dill pickles start with fresh pickling cucumbers packed with dill, garlic and mustard seed, then covered with a hot vinegar brine. For shelf-stable pickles, the filled jars need to go through a tested boiling-water canning process.
The basic process looks like this:
- Choose small, very fresh pickling cucumbers.
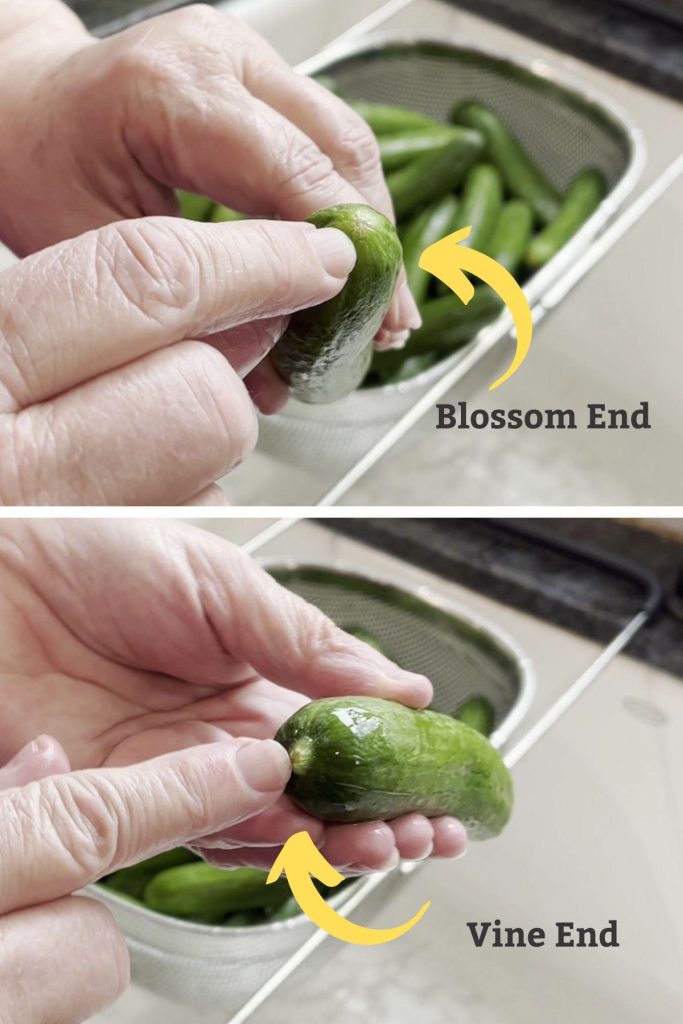
- Wash them and remove the blossom end (see picture, below)
- Prepare your jars and canner.
- Make the vinegar brine.
- Add dill, garlic and mustard seed to each jar.
- Pack the cucumbers tightly into the jars.
- Cover them with hot brine.
- Remove air bubbles and check your headspace.
- Apply the lids and bands.
- Process according to a current tested boiling-water canning method.
- Cool the jars completely and check the seals.
- Exercise some restraint before opening them, i.e, give it at least a week before testing!
Why Dill Pickles Need Vinegar
The vinegar isn’t there just for that sharp pickle flavour. It creates the acidic environment required for safe pickling.
Fresh cucumbers are a low-acid vegetable. When we make shelf-stable dill pickles, vinegar lowers the pH enough that we can safely use a boiling-water canner when following a tested recipe.
This is why we don’t freestyle the vinegar.
Cooking gives us lots of places to improvise. Add another clove of garlic. Throw some more parsley into your pasta. Use the bigger onion, but home canning is different.
When a tested pickle recipe specifies vinegar with 5% acidity and a particular ratio of vinegar to water, keep that ratio intact. Don’t reduce the vinegar because you prefer a less tangy pickle.
Look at the vinegar label before you start. You want 5% acidity for a recipe developed around 5% vinegar. This is your standard ‘white vinegar’.
This is also why we don’t recommend taking an old family canning recipe and automatically assuming its processing instructions meet current home-canning standards. Recipes and equipment change. Safety recommendations change.
Grandma made excellent pickles, but Grandma also rode around without a seatbelt. We can honour the recipe and update the safety practices.
The Science Behind a Crisp Dill Pickle
A crisp dill pickle starts before the cucumber ever reaches the jar. Freshness, cucumber variety, blossom-end trimming and controlled heat all affect the final texture.
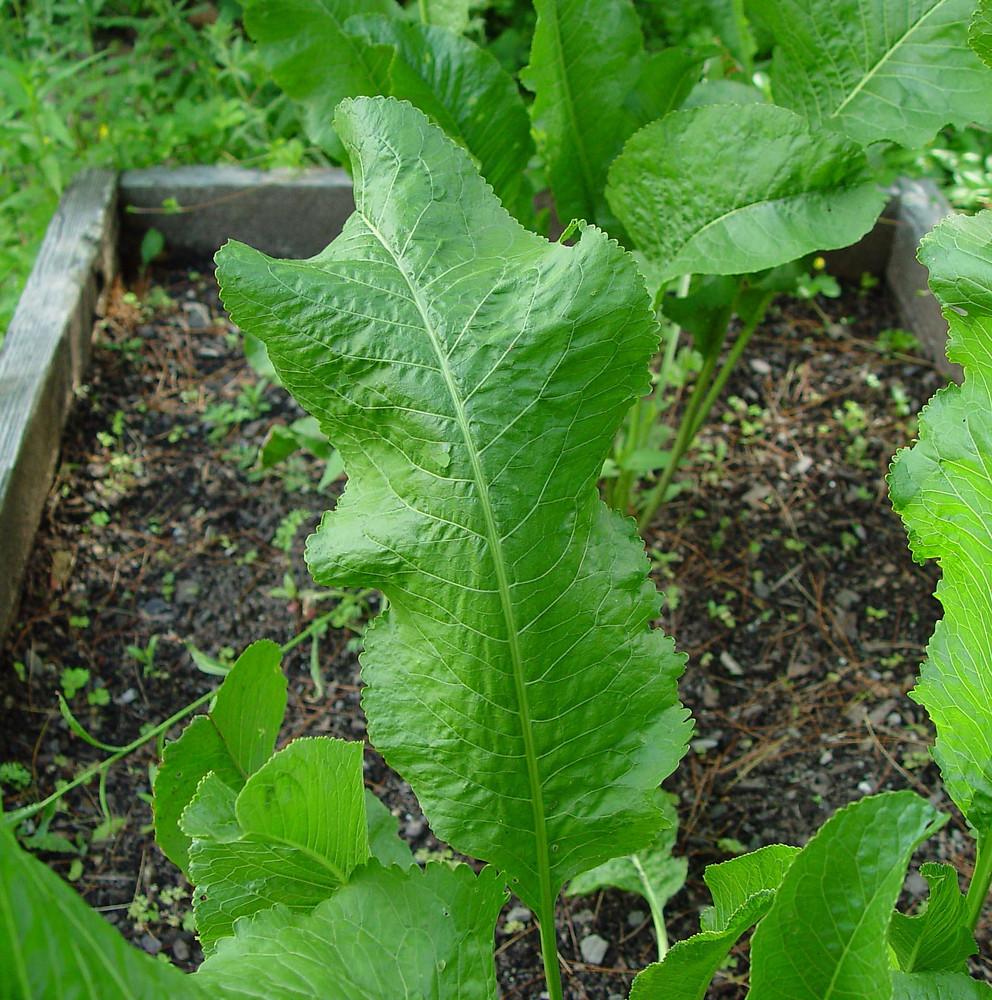
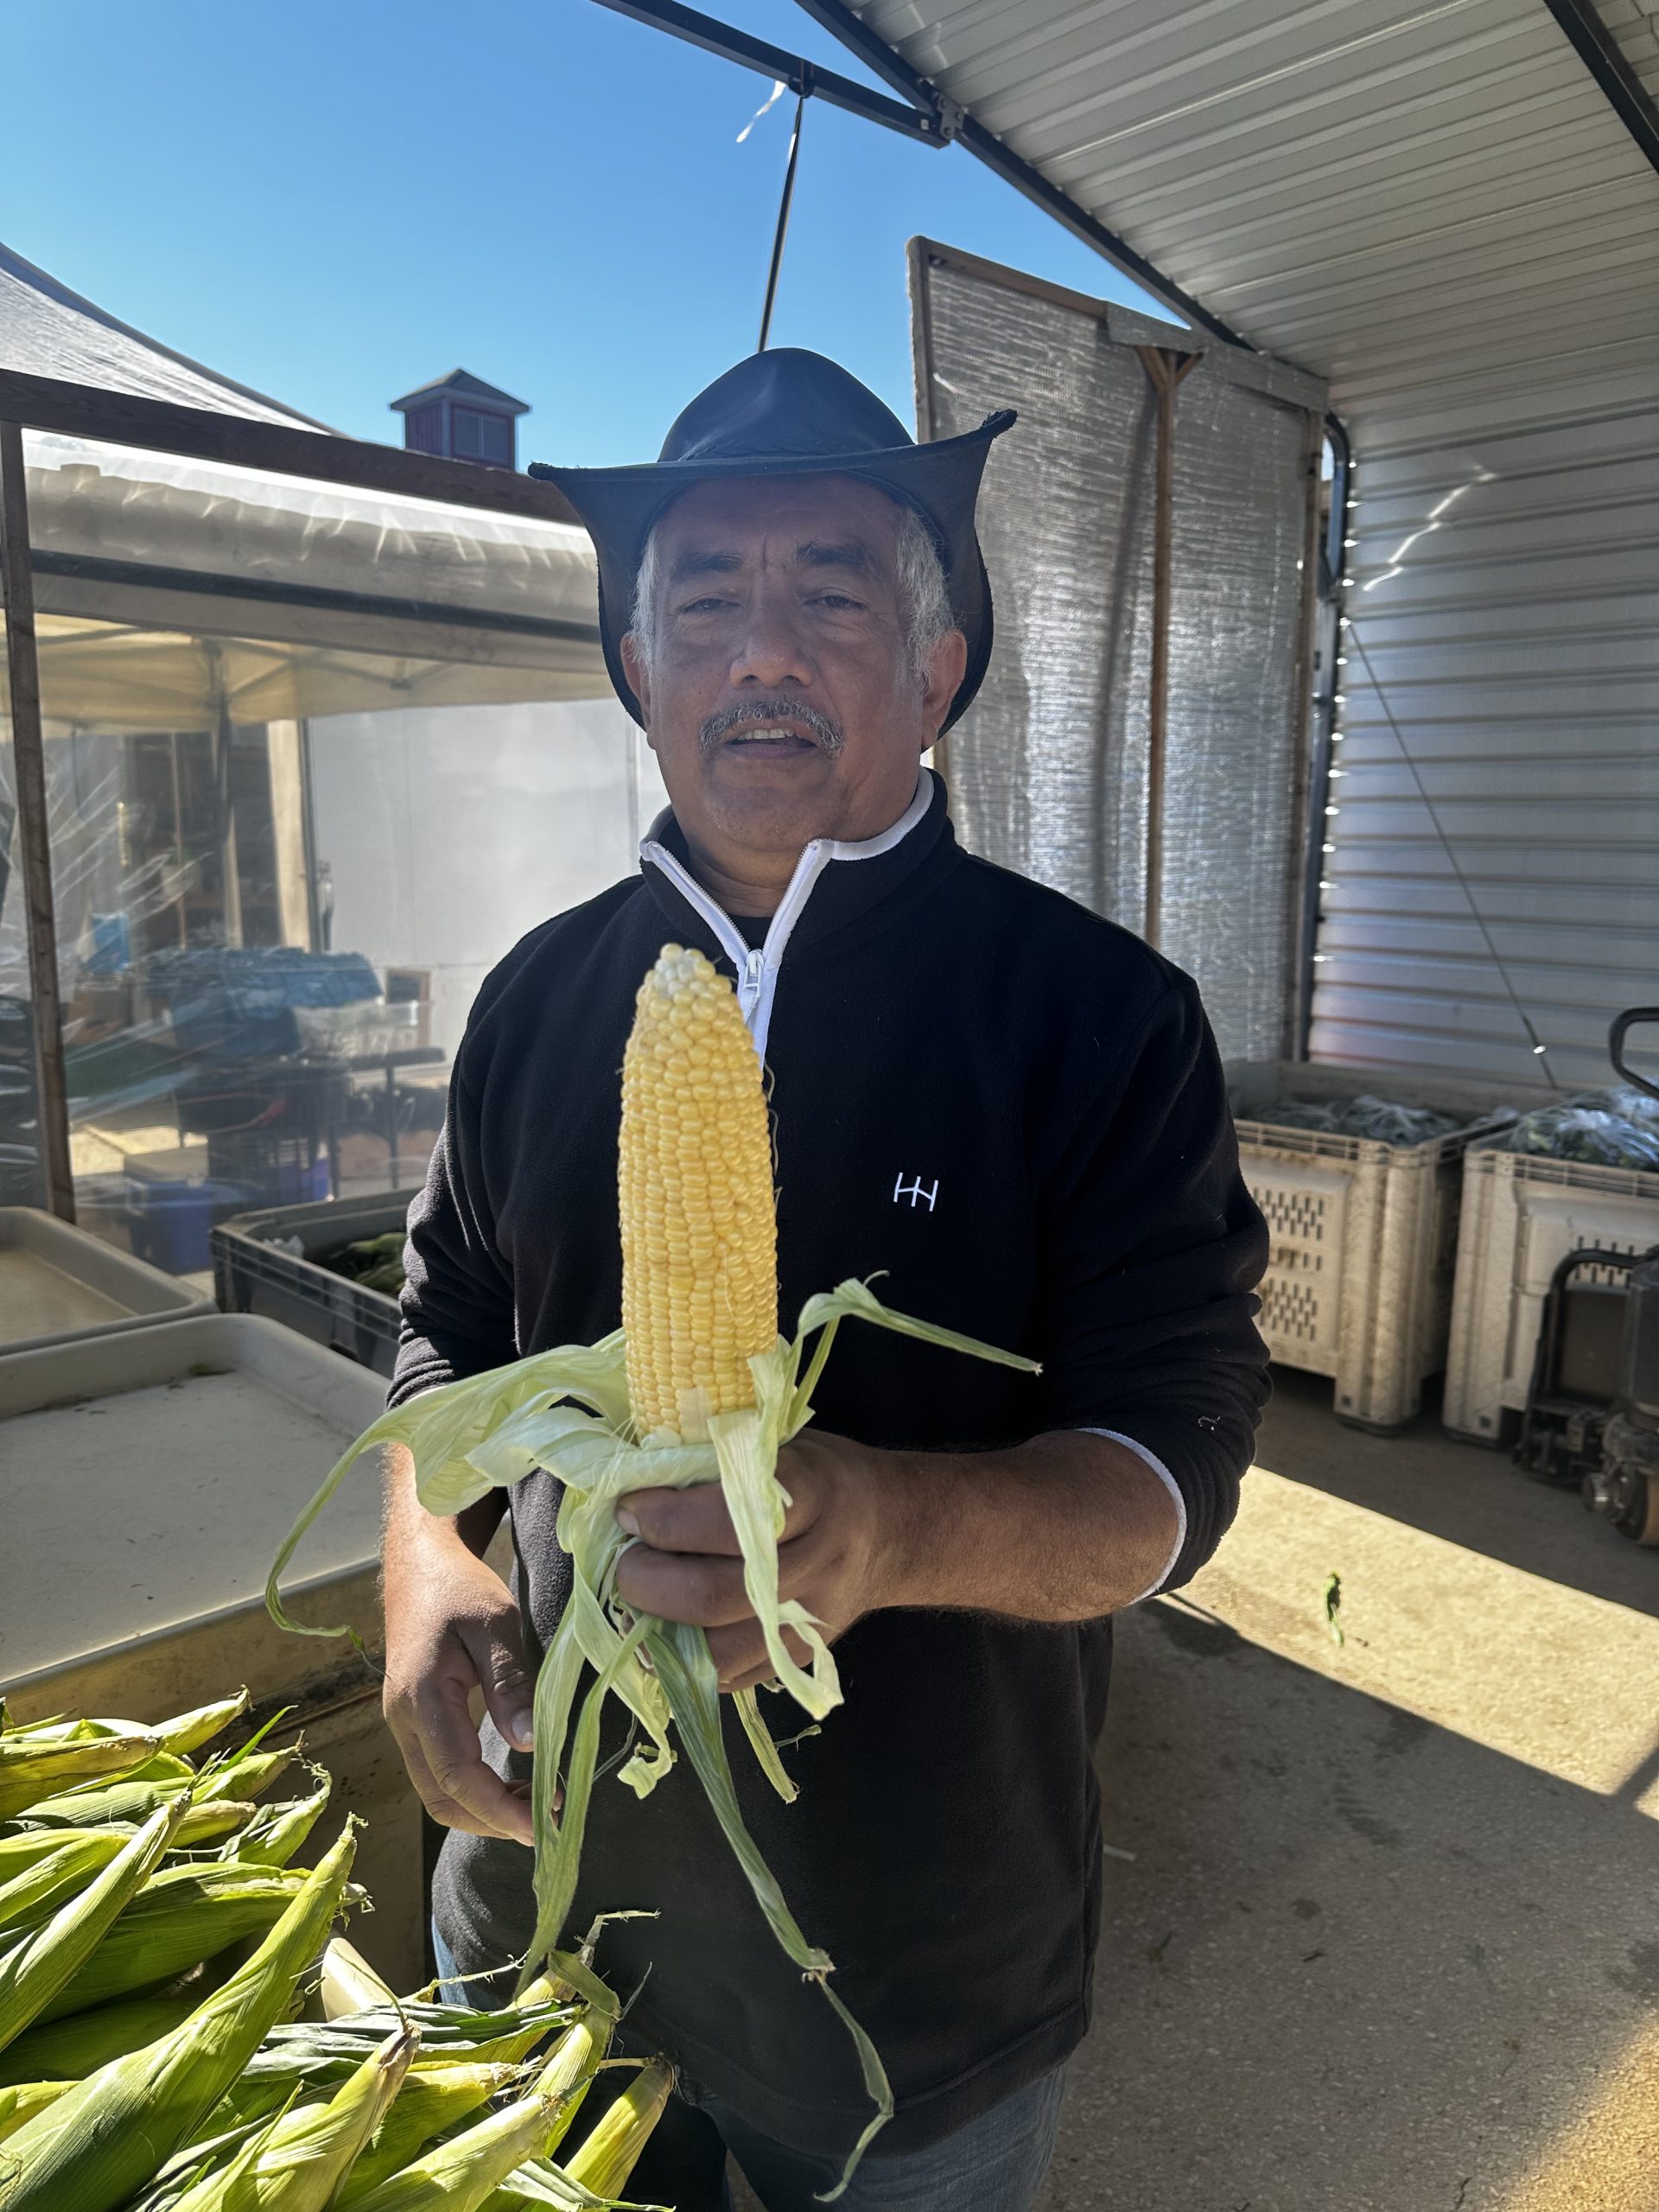
Just this summer we were chatting with a local farmer who had big bushels of large leaves for sale. We asked what they were, and he said horseradish leaves, which he says people use to keep dill pickles nice and crunchy, and of course that immediately sent us down the rabbit hole of why.
Horseradish leaves contain tannins, naturally occurring plant compounds that can help slow the enzymes involved in softening pickles. It’s the same reason you’ll sometimes see grape, oak or cherry leaves tucked into old-fashioned pickle recipes.
We love tips like this because they’re a perfect meeting of old-school kitchen wisdom and food science. Someone has been doing it for decades because “that’s how you keep the pickles crunchy,” and that’s how their grandparents had done it, without really knowing sy.
If you have access to fresh, properly identified horseradish leaves, you can add a small clean leaf to the jar with your dill, garlic and mustard seed.
Will a horseradish leaf rescue an old, soft cucumber? Nope. Your biggest weapons against mushy pickles are still very fresh pickling cucumbers, trimming the blossom end and following the correct processing method. Think of the horseradish leaf as a little extra insurance.
And now we’re absolutely going to have to tell our farmer friend that he made the blog.
Start With Pickling Cucumbers
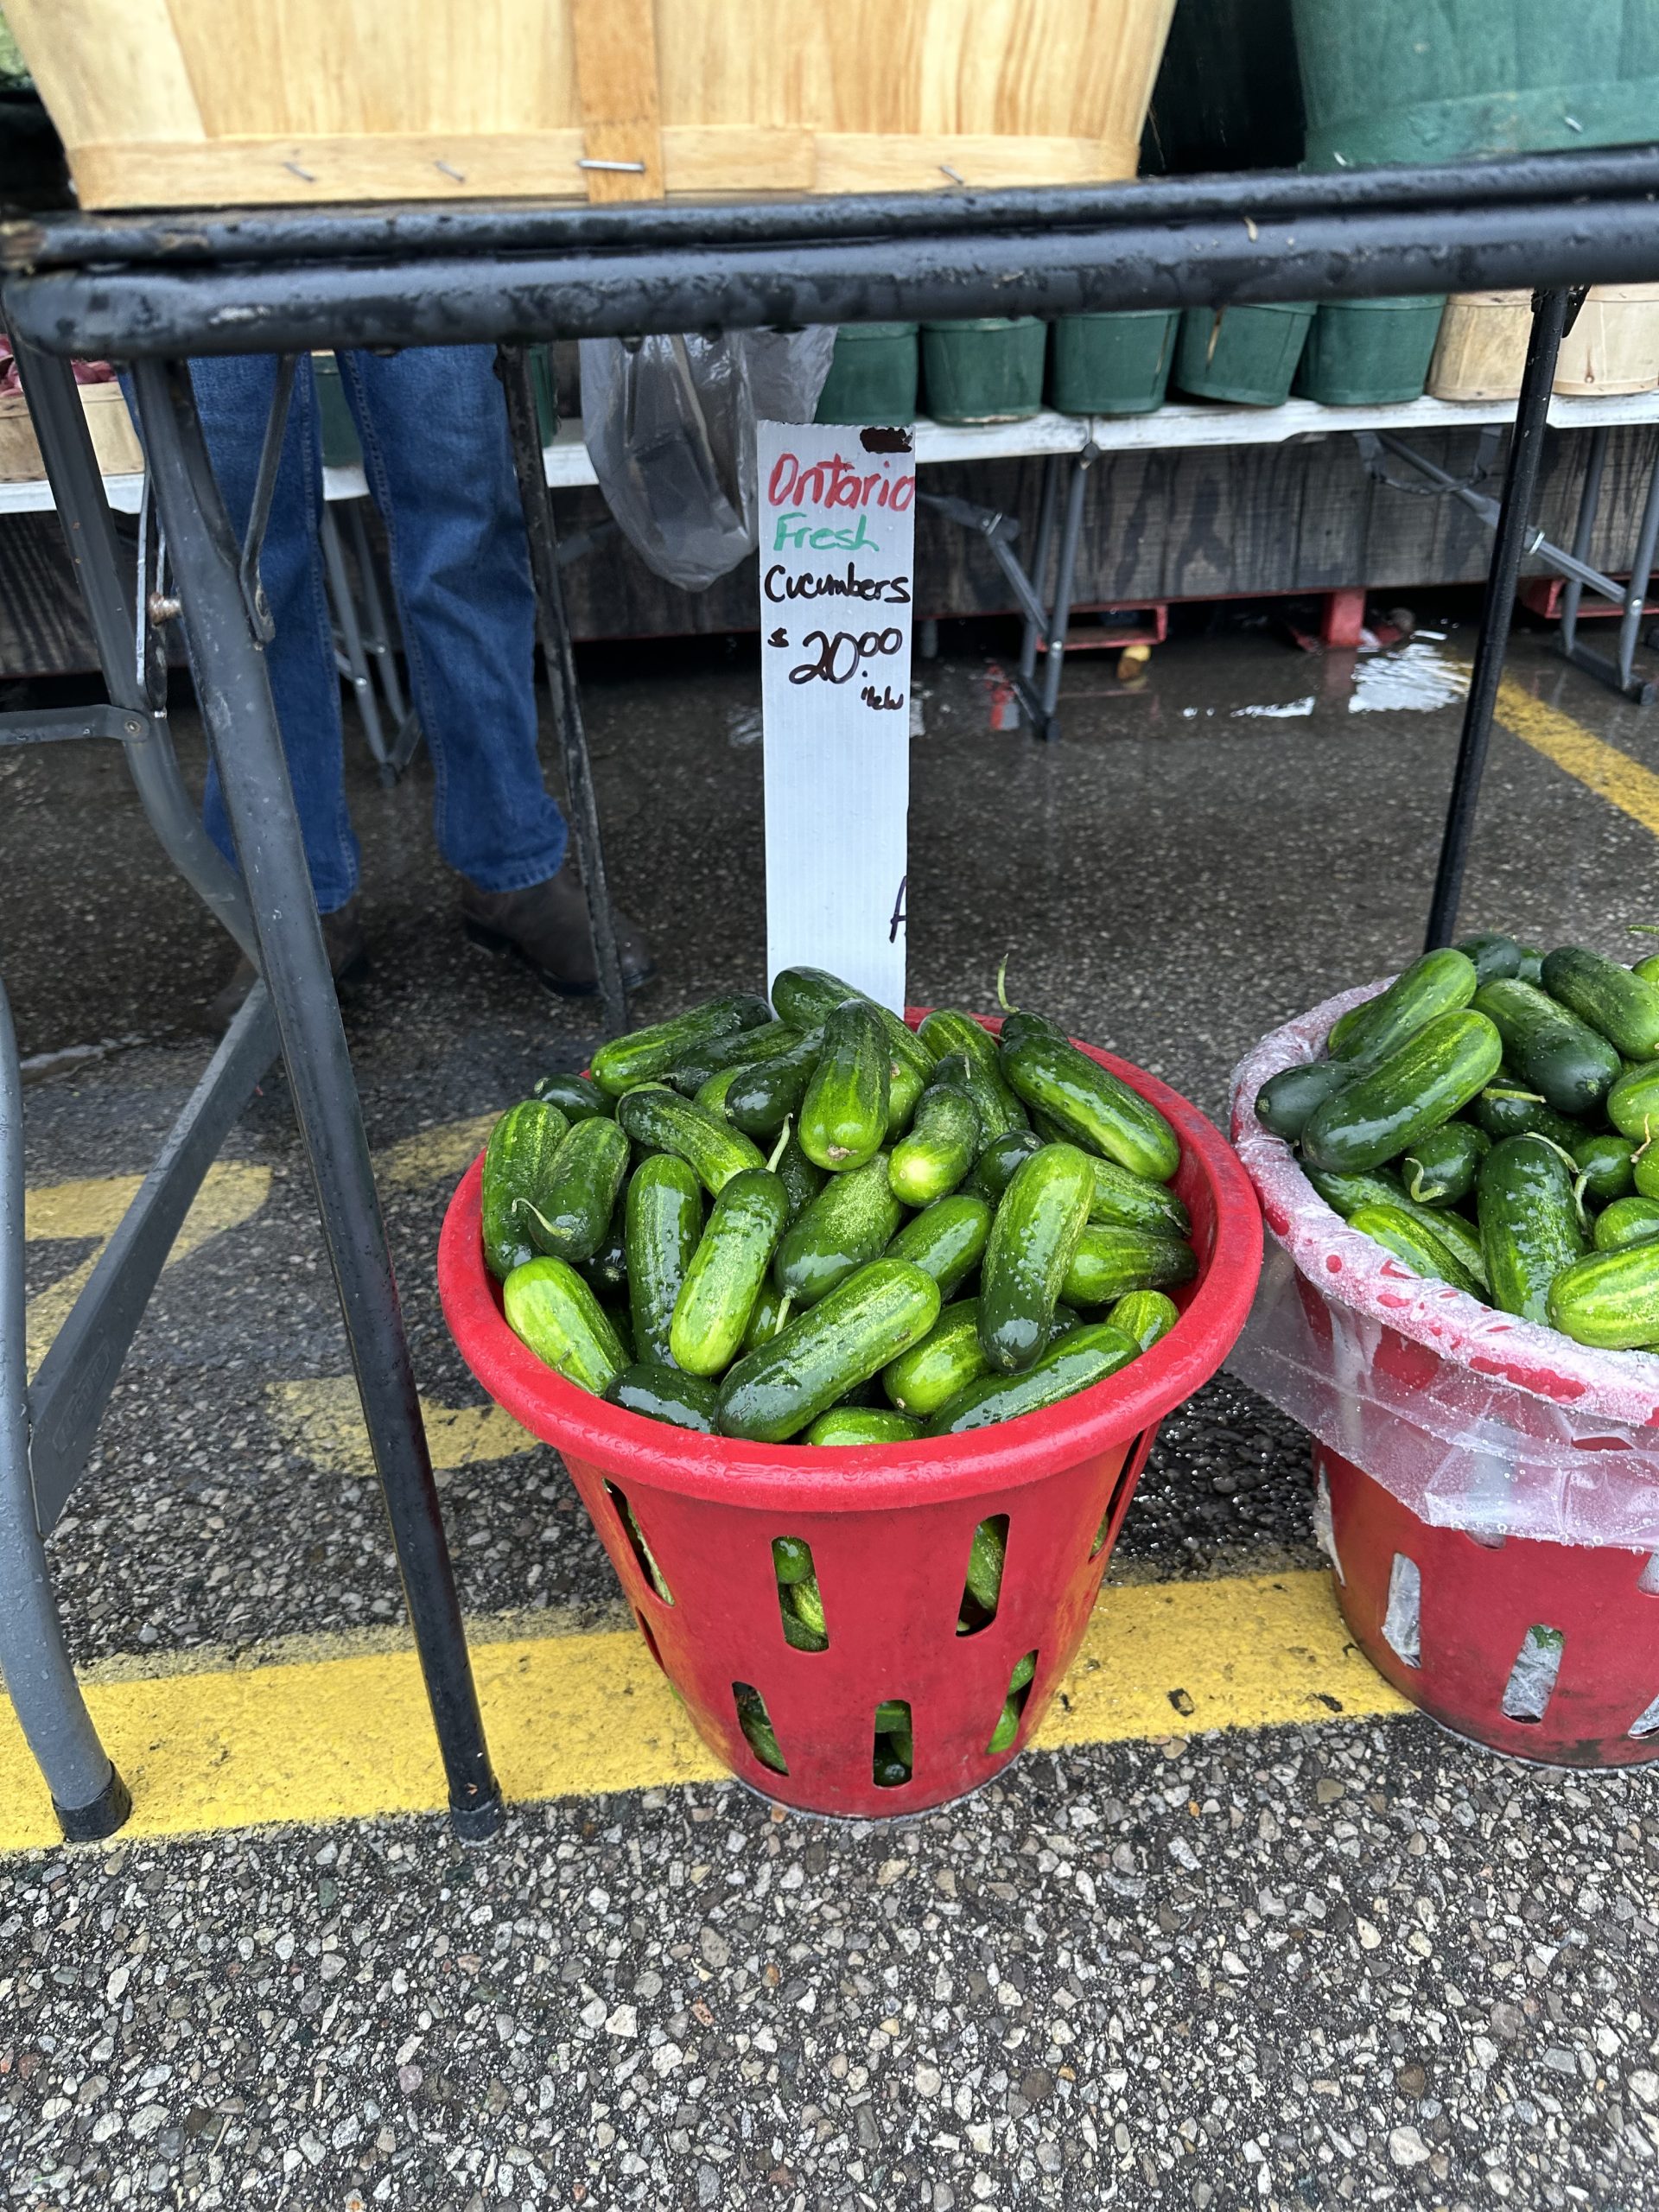
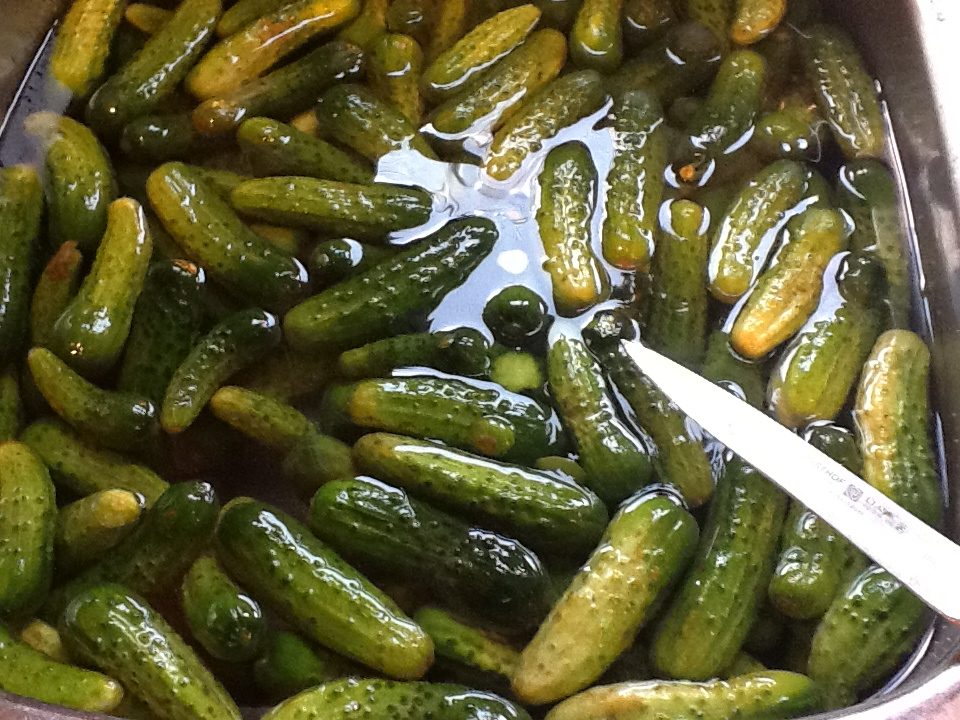
Use cucumbers grown for pickling rather than big waxy slicing cucumbers.
Pickling cucumbers tend to be smaller with thinner skins and denser flesh. That structure helps them stand up to brining and processing. For our last pickling party we did actually use a variety of sizes, from tiny cornichons (a real chore to clean FYI but super cute) to larger dills. We also didn’t hesitate to make a few jars of ‘icicles’ or ‘slicers’, perfect for burgers.
Choose cucumbers that feel very firm. Avoid anything soft, shrivelled, bruised or yellowing. If you can get them directly from a farm or market and pickle them quickly, even better.
The cucumber starts losing moisture and firmness after harvest. You can’t turn a tired cucumber into a crunchy pickle!
Remove the Blossom End
This tiny step matters. Trim a thin slice from the blossom end of each cucumber (see picture, belww). The blossom end can contain enzymes that contribute to softening during pickling.
If you don’t know which end is which, you can trim a tiny amount from both ends!
Don’t Overprocess Your Pickles
Heat processing creates a safe, shelf-stable product when you follow a tested recipe, but excessive heat can also soften vegetables.
That is one reason we follow the recommended processing time rather than adding an extra 15 minutes “just to be safe.” More cooking does not automatically mean more safety.
Correct processing means safety. That’s an important distinction.
Our Classic Homemade Dill Pickle Recipe
This is the flavour profile we came back to after our pickling hiatus. It’s straightforward, garlicky, dilly and properly pickle-y.
Dill Pickle Brine
For a smaller batch:
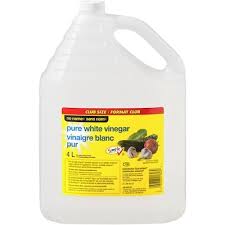
- 2 cups white vinegar
- 2 cups water
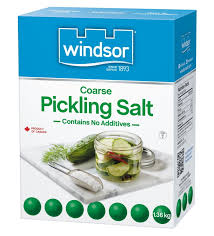
- 2 tablespoons pickling salt
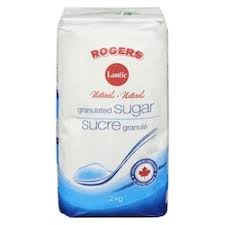
- 1 tablespoon granulated sugar
For Each 1 L Jar
- Pickling cucumbers, enough to pack the jar
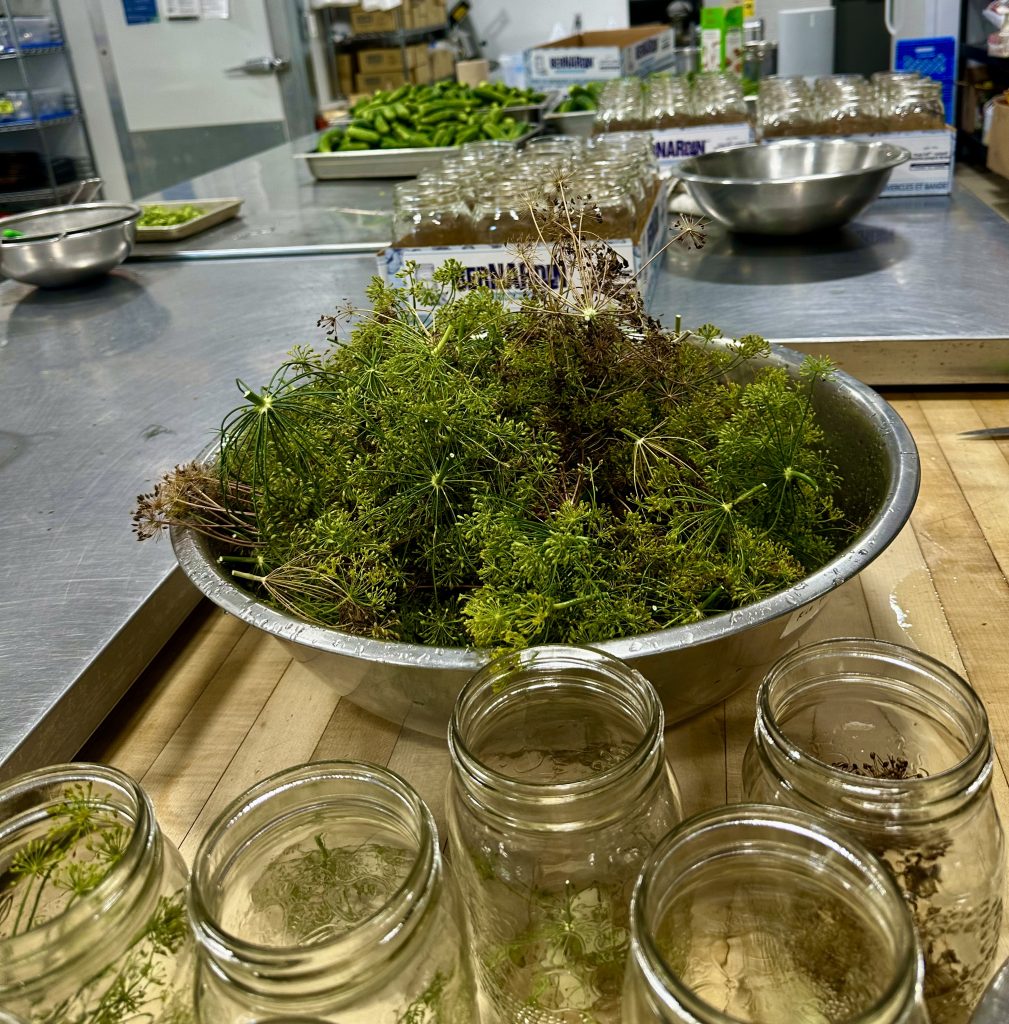
- 1 large fresh dill head, or about 2 tablespoons dried dill
- 1 to 2 small cloves garlic
- 1 teaspoon mustard seed
For a Big Pickling Day
A half bushel of cucumbers has traditionally given us approximately 17 – 1 L jars, although your yield will vary depending on cucumber size and how tightly you pack them.
Our large-batch brine ratio is:
- 6L (24 cups) white (distilled) vinegar
- 6L (24 cups) cold water
- 330 g (1 1/2 cups) pickling salt
- 150 g (3/4 cup) granulated sugar
You’ll need roughly 1 1/2 x 4 L jug of vinegar for that size of batch, and one box of pickling salt (we used Windsor Brand)
Again you’ll need garlic cloves, dill heads & mustard seeds. See note above about horseradish leaves!
Before you start packing, make sure you have:
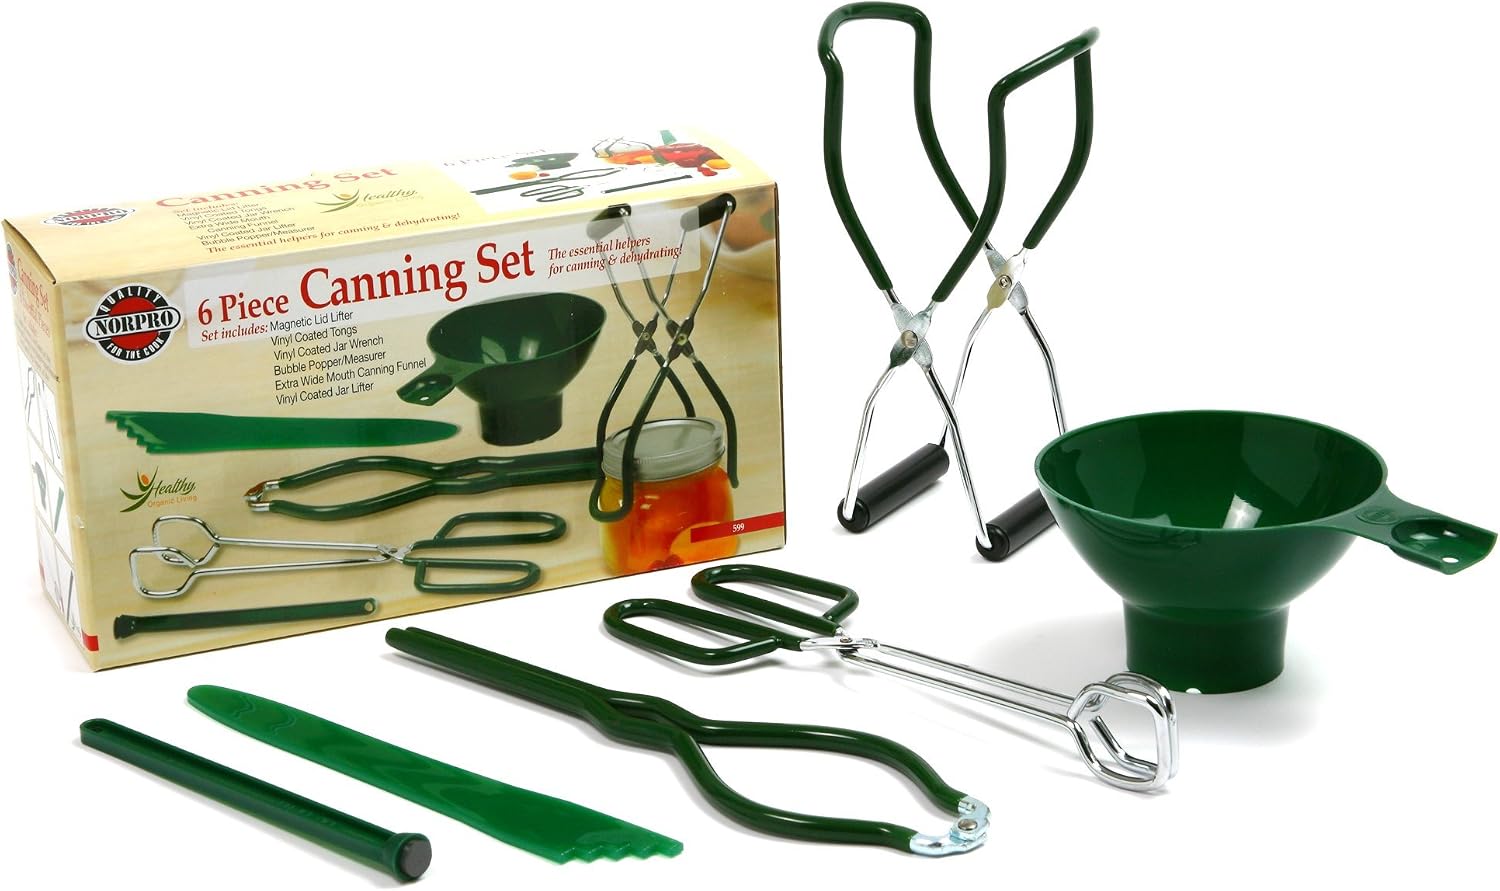
- Jar lifter (essential)
- Canning funnel
- Non-metallic bubble remover or suitable utensil
- Clean cloths
- Ladle or heatproof pitcher
- Canning rack. You can omit (but more risk of breakage)or, we’ve also used a rolled up towel on the bottom of the pot.
- Large boiling-water canner. This is just a LARGE POT. We’ve always just used whatever stock pots we can find.
- Clean jars
- New lids (that’s the top part with the rubber seal)
- Screw bands
Set it all out first. No one wants to be hunting for the jar lifter while standing beside a giant pot of boiling water.
This handy Canning Kit has everything you need!
Keeping everything organized here makes the rest of pickle day surprisingly civilized. We worked as a team . 4-5 people is ideal! One person washing, one person trimming, one or two people heating the jars & packing, and one person topping
with the hot brined and processing).
How to Prepare Cucumbers for Dill Pickles
- Wash cucumbers gently under cool running water and trim the blossom ends. Keep them whole if they’re small enough, or cut larger cucumbers into spears.
- We like a jar with some personality. They don’t all need to look like identical supermarket pickles.
- Give each cucumber a gentle scrub to remove any soil, particularly around the little bumps on the skin.
- If you have cucumbers in several different sizes, sort them before you start packing. You’ll work much faster if you’re not digging through a mountain of cucumbers looking for one that will fit beside another.
How to Prepare Your Jars and Canner
- Use proper home-canning jars that are free from chips and cracks, new self-sealing lids, and bands that aren’t rusted or damaged. You can definitely reuse jars from year to year (BIG THANK YOU TO KIRSTIE’S IN-LAWS FOR DONATING A TON OF JARS!) but will likely need to get new lids (bands can also be used year to year, just not the lids with the rubber seal)
- Wash the jars, lids and bands in hot soapy water and rinse well.
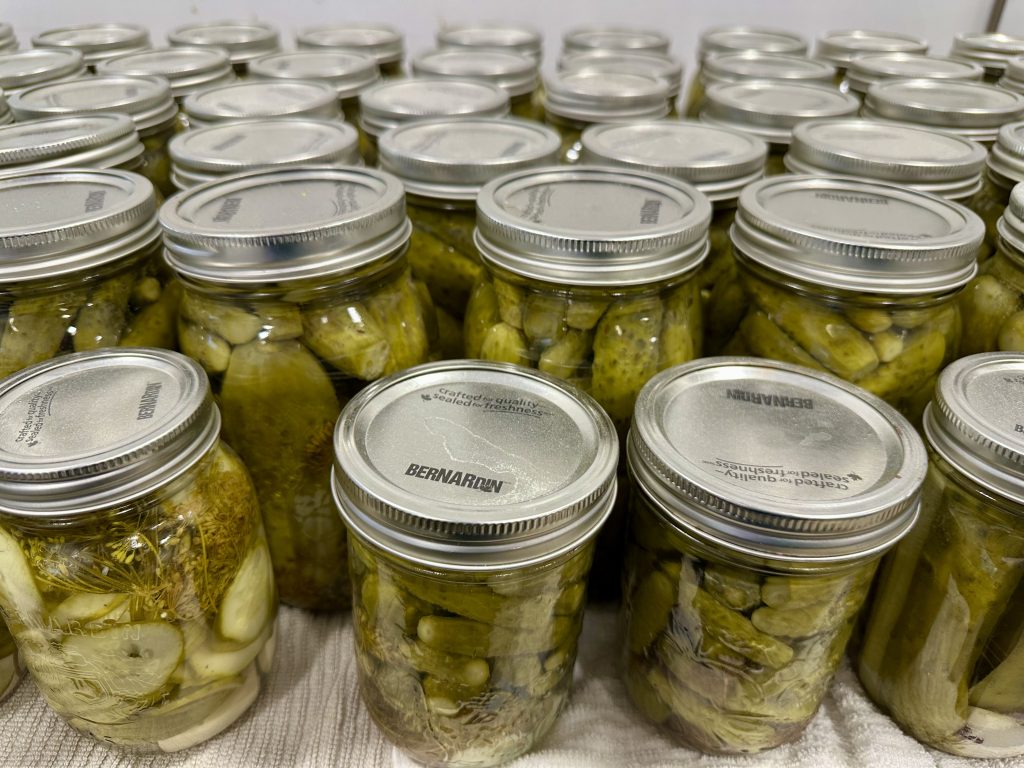
- Modern Bernardin lids do not need to soak in hot water before use. Follow the directions from the manufacturer of the lids you’re using.
- Place your jars on the rack of your boiling-water canner, cover them with water and heat them so they’re hot when you’re ready to fill them.
How to Make the Dill Pickle Brine
- Combine the vinegar, water, pickling salt and sugar in a stainless steel pot. Bring the mixture to a boil, stirring to dissolve the salt and sugar, then keep it hot while you fill your jars.
NOTES: Why pickling salt? Pickling salt dissolves cleanly and doesn’t contain the anti-caking ingredients commonly found in table salt, which can make pickle brine cloudy.
And the sugar? This isn’t a sweet pickle. The small amount of sugar rounds out the sharpness of the vinegar. You probably won’t identify sweetness when you bite into the pickle. You’ll just know the brine tastes balanced.
That’s what we want.
How to Pack Dill Pickles Into Jars
- Put the dill, garlic and mustard seed into each hot jar first, then pack in the cucumbers.
- Here’s our favourite part. You think the jar is full. It is not. Turn a cucumber. Move another one. Find one skinny little cucumber and slide it down the side. Suddenly you’ve fit three more in there. Fun Fact: this is where Jody thrives in the pickling party!
- Pack them firmly without crushing them, while still leaving the headspace required (in this case, 1/2 inch).
How to Pour the hot brine over the cucumbers.
- Use your large funnel here and a ladle to pour the hot brine over the pickles. Run a non-metallic utensil around the inside of the jar to release trapped air bubbles (that long plastic stick. In a pinch, we’ve used a chopstick). Add more brine if needed to restore the required headspace.
- Wipe the rim thoroughly. Any food or brine on the rim can interfere with the seal.
- Centre the lid over the jar and screw on the band until fingertip tight.
- Not muscle tight.
The air inside the jar needs to escape during processing. Cranking the band down as hard as possible does not improve your odds of a good seal.
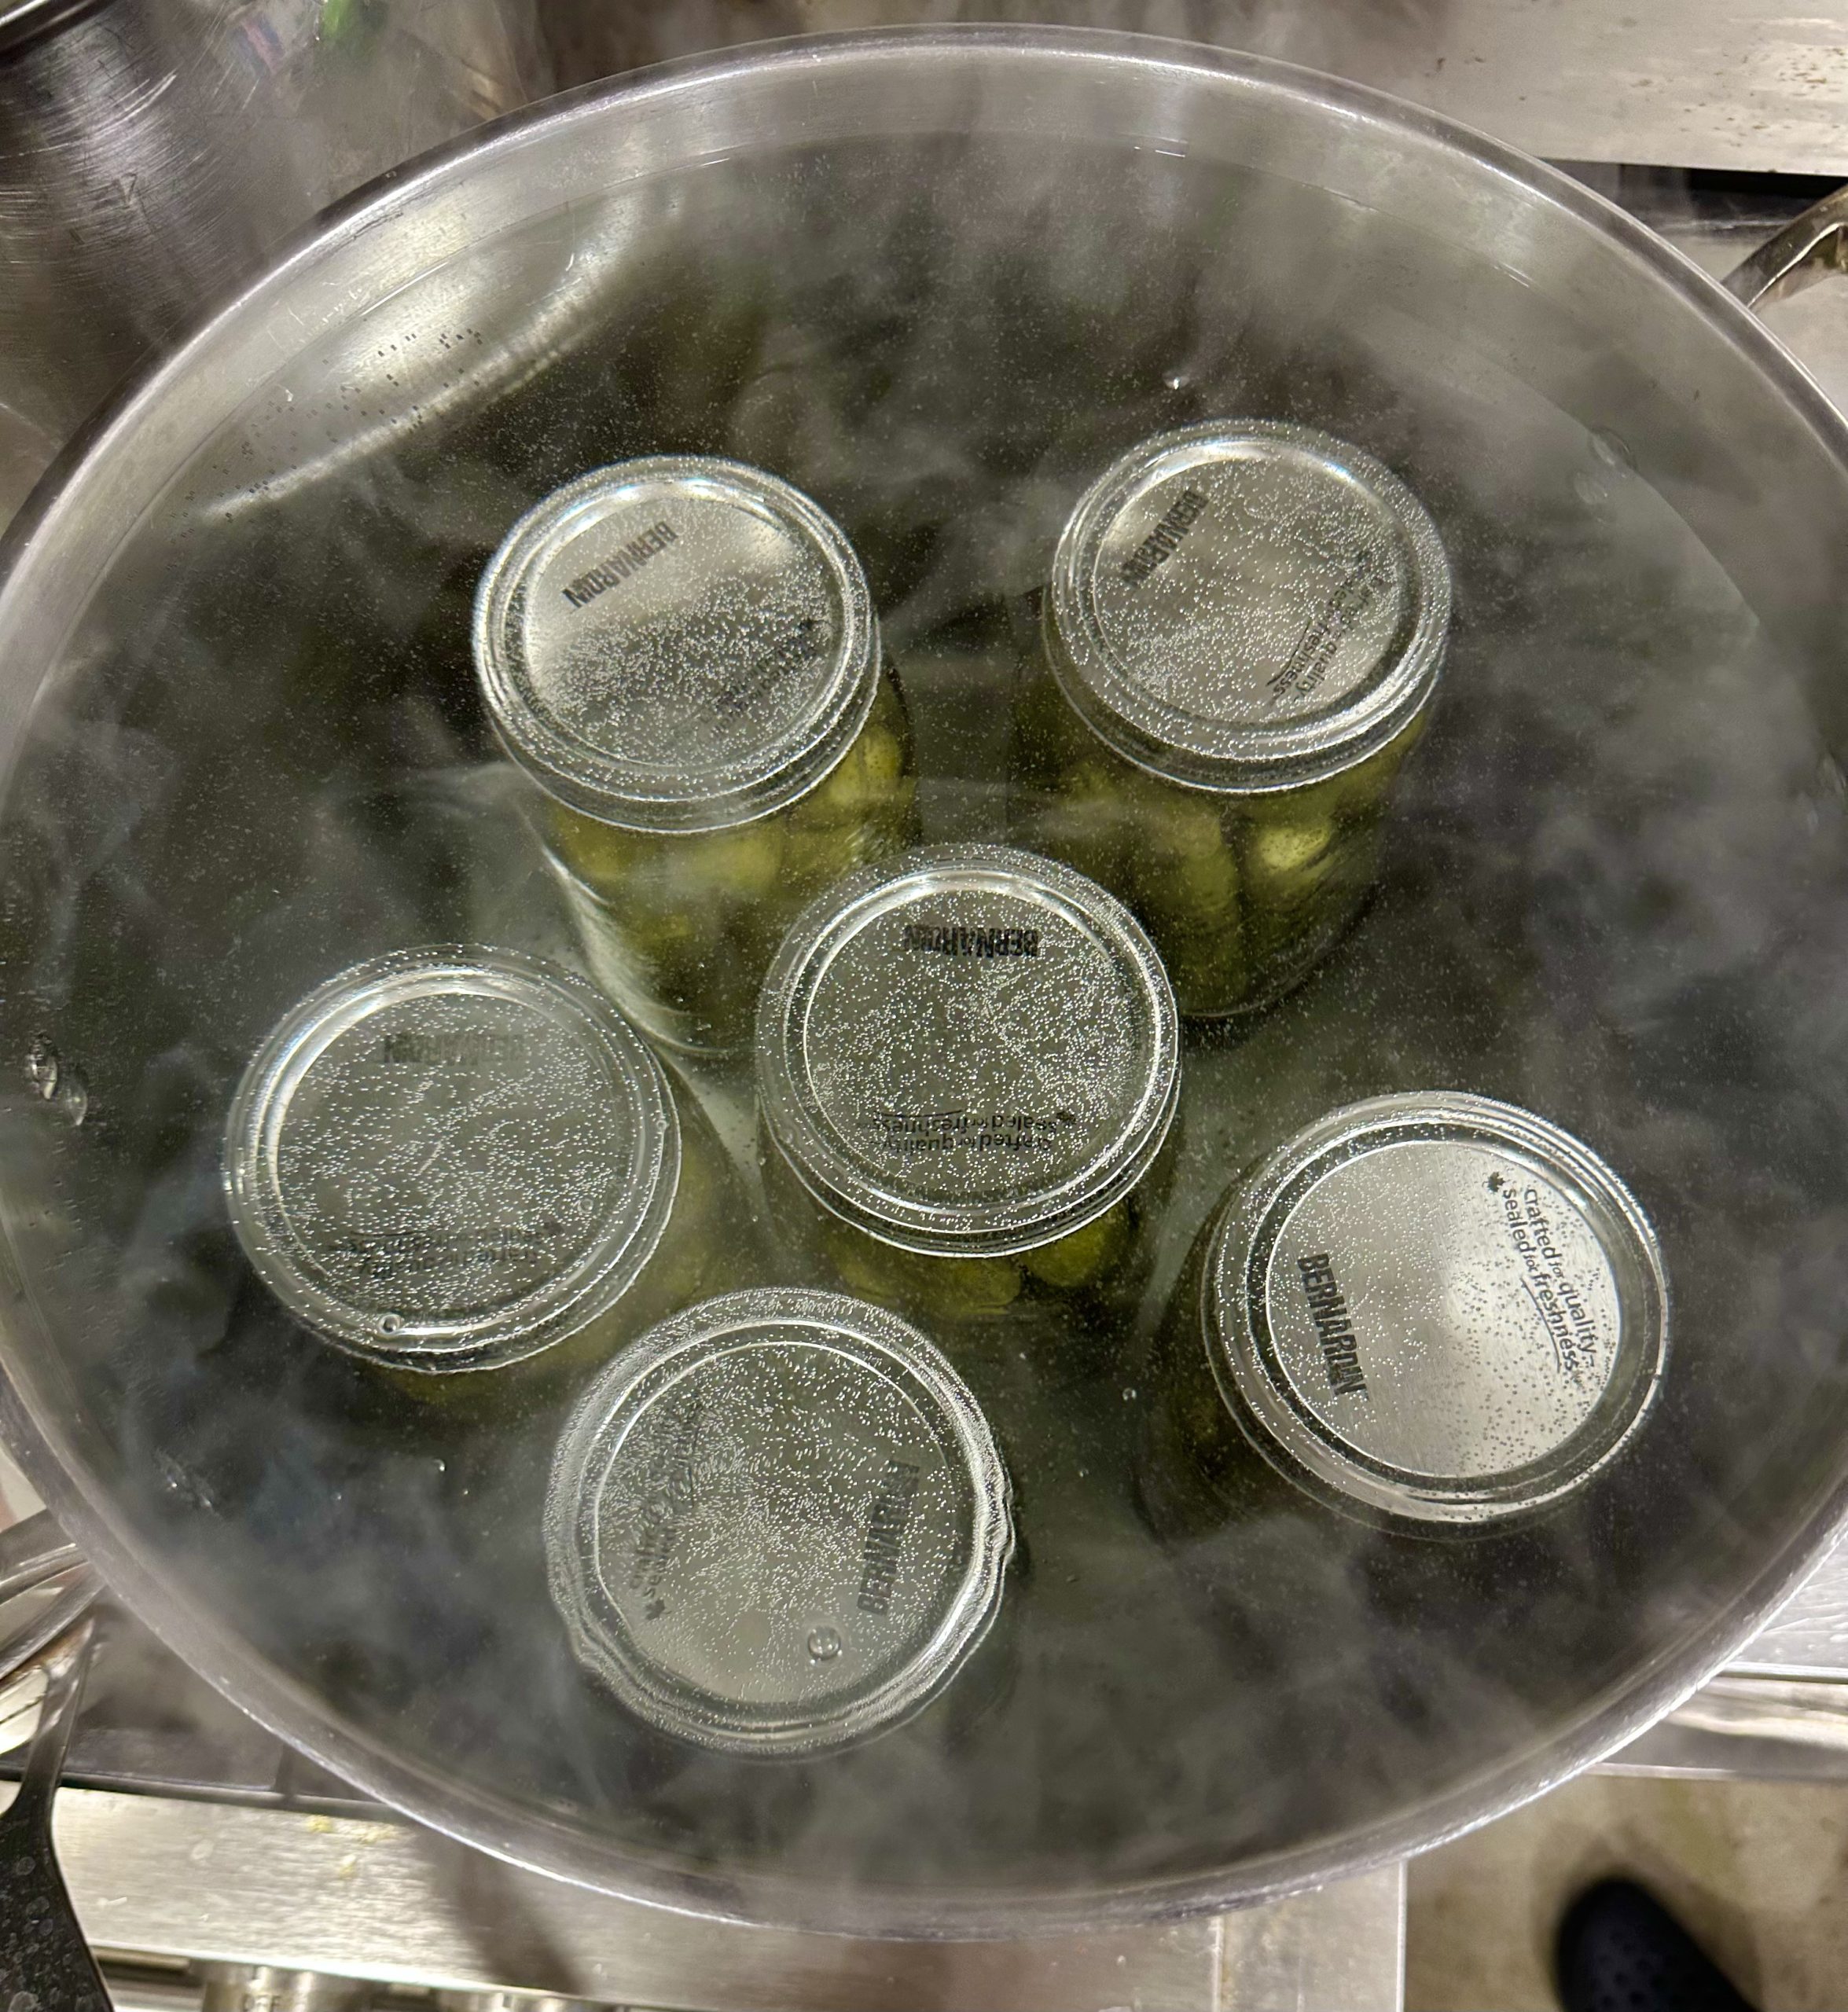
How to Safely Can Dill Pickles in a Boiling-Water Canner
Dill pickles are a high-acid canned food when prepared with a tested vinegar brine, so they can be processed in a boiling-water canner. Your exact processing time depends on the tested recipe, jar size and elevation.
(For reference, current tested dill pickle recipes from trusted home-canning authorities commonly specify 15 minutes for 1 L or quart jars at elevations up to 1,000 feet, with longer processing required at higher elevations.)
The general boiling-water process works like this:
- Place the filled jars upright on the canner rack.
- Make sure water covers the jars by at least 1 inch.
- Cover the canner (optional–we’ve commonly never used a lid, but it would speed up the boiling process)
- Bring the water to a full rolling boil.
- Start timing only once the water reaches a full boil.
- Maintain the boil for the full required processing time, in this case, 15 minutes for 1 L jars.
- Turn off the heat when processing is complete.
- Remove the canner lid.
- Wait about 5 minutes.
- Lift the jars straight up without tilting them.
- Place them upright on a towel or heatproof surface.
- Leave them completely undisturbed while they cool.
- We like to leave them undisturbed for 24 hours before transferring anywhere.
Do not push down on the lids.
Do not tighten the bands.
Do not tip the jars to get water off the lids.
Leave them alone.
Now wait for the super satisfying ‘pop’ sound, guaranteeing your seal!
Troubleshooting Dill Pickles
- What if my jar cracks a couple minutes into processing? It has happened to us. And it is disappointing. In over 200 jars last year, we had 1 casualty, so it doesn’t happen often. There was just too much temperature fluctuation, or we added the jar too quickly to the hot water. Or it was a lemon of a jar. Simply (and carefully) empty everything out and start again.
- If a jar doesn’t seal after processing, no need to throw it out, just refrigerate it and eat the pickles within a few weeks.
- As you take the jars out to cool, you’ll notice a white dusty film on them. All good, that’s just excess calcium from our tap water.
Jody and Kirstie’s Hot Tips
Jody and Kirstie’s Hot Tips
- Use the freshest cucumbers you can find. Fresh cucumbers give you your best shot at crisp pickles.
- Trim the blossom end. It’s a tiny job that can make a difference in texture.
- Check your vinegar label. Use vinegar with the acidity specified by your tested recipe, commonly 5%.
- Use pickling salt. It dissolves cleanly and helps keep the brine clear.
- Don’t overdo the garlic. We love garlic too, but this is a dill pickle, not preserved garlic with a cucumber squeezed in beside it.
- Pack strategically. Use smaller cucumbers to fill the gaps between larger ones. Feel free to cut them to fit as well, they’re still delicious.
- Keep your jars hot before filling. You’re adding hot brine and then putting them into hot water.
- Don’t overtighten the bands. Fingertip tight is enough.
- Let them sit. The dill, garlic, mustard and brine need time to move into the cucumber. Patience tastes better.
How Long Should Dill Pickles Sit Before Eating? And how long will they keep?
Give canned dill pickles several weeks for the flavour to fully develop. Four to six weeks is a good target for classic canned pickles.
Can you open them earlier? Sure. Jody’s daughter has already demonstrated that the Pickle Police will not arrive. But they’re better when you wait.
Over time, the vinegar, salt, garlic, mustard and dill penetrate the cucumber and create that unified pickle flavour we’re after.
Write the date on the jar. Technically home canning should be eaten within 1 year. Pickles make perfect holiday gifts!
Substitutions
Pickling recipes aren’t the place for major improvisation if you plan to make them shelf stable.
You can make small flavour changes when a tested recipe allows them, particularly with dried spices, but don’t casually change the vinegar, water or salt proportions in a canning recipe. One year we forgot the mustard seed entirely, and they were still delicious.
Can I Use Dried Dill?
Yes. Our recipe uses one large fresh dill head per jar, but dried dill can work when fresh dill isn’t available. We still prefer fresh dill heads when they’re in season. They give homemade pickles that unmistakable summer pickle flavour.
Can I Add More Garlic?
For flavour, garlic can often vary within the limits of a tested recipe. We use one to two small cloves per 1 L jar. More isn’t always better. Garlic becomes assertive in a jar.
Can I Reduce the Sugar?
The small amount of sugar in our brine balances the vinegar rather than making the pickles sweet. For shelf-stable canning, we recommend following a current tested formula rather than modifying ingredient ratios yourself.
Can I Use Apple Cider Vinegar?
Only substitute vinegar when the tested recipe allows it, and make sure it has the required acidity. Apple cider vinegar will also change the colour and flavour of the finished pickles.
What to Know and Avoid When Canning Dill Pickles
The biggest rule is simple: don’t improvise with food safety.
Avoid these common mistakes:
- Using vinegar with lower acidity than the tested recipe requires
- Reducing the amount of vinegar
- Adding extra water to make the brine milder
- Using a larger jar than the recipe specifies
- Skipping the boiling-water processing step for shelf-stable pickles
- Starting your processing timer before the water reaches a full boil
- Ignoring altitude adjustments
- Using old or damaged canning lids
- Overtightening the bands
- Eating from a jar that shows signs of spoilage
This is where our No Cook is Left Behind philosophy matters. We don’t want home canning to feel intimidating. We want you to understand the few rules that really matter so you can relax and enjoy the rest of it.
How to Store Homemade Dill Pickles
- Once the jars have cooled completely, check every seal before storing them. A properly sealed lid should curve downward and shouldn’t flex when you press the centre.
- Remove the screw bands for storage or leave them very loose, depending on the jar manufacturer’s recommendations. Wipe the jars clean, label them and add the date.
- Store properly processed sealed jars in a cool, dark, dry place.
- For best quality, plan to use home-canned pickles within about one year.
- Once you open a jar, refrigerate it.
- If a jar doesn’t seal after processing, refrigerate it rather than putting it in the pantry.
And if a jar ever looks suspicious, leaks, spurts, smells wrong or shows signs of spoilage,
don’t taste it to investigate. Throw it out.
Dill Pickle FAQ
Why do you cut the blossom end off cucumbers?
The blossom end can contain enzymes that contribute to softening. Trimming a thin slice from that end helps your pickles stay firmer.
What kind of vinegar should I use for dill pickles?
Use the type and acidity specified in a current tested canning recipe. Many dill pickle recipes call for white vinegar with 5% acidity. Always check the label.
Can I make dill pickles without canning them?
Yes. Refrigerator dill pickles don’t require a boiling-water canning process because you keep them refrigerated rather than storing them at room temperature. Use a recipe specifically developed for refrigerator pickles.
Why are my homemade dill pickles soft?
Old cucumbers, leaving the blossom ends intact, weak vinegar, improper processing and excessive heat can all contribute to soft pickles. Start with very fresh pickling cucumbers and follow a tested recipe.
How long before homemade dill pickles are ready?
For canned dill pickles, we like to give them about four to six weeks for the brine and seasonings to fully flavour the cucumbers.
Do I need to sterilize my jars?
Jar preparation depends on the processing method and time in the tested recipe you’re following. Follow current jar and lid manufacturer instructions rather than older advice automatically.
Do canning lids need to soak in hot water?
Not necessarily. Current Bernardin guidance says its modern lids should not be preheated. Wash them in hot soapy water, dry them and use as directed. Always follow the instructions for your specific lid brand.
Can I reuse canning lids?
Use new self-sealing lids for shelf-stable home canning. Screw bands can usually be reused as long as they’re clean and in good condition.
Can I use regular cucumbers instead of pickling cucumbers?
You can pickle other cucumber varieties, but small, firm pickling cucumbers generally give you better texture and fit more easily into jars.
Do dill pickles need a pressure canner?
Properly acidified dill pickles made from a tested recipe use a boiling-water canner. Low-acid vegetables without sufficient acid require pressure canning, which is why you should never reduce the vinegar in a tested pickle recipe.
Key Takeaways
- Great dill pickles start with very fresh, firm pickling cucumbers and properly acidic brine.
- Trim the blossom ends to help protect the pickles’ texture.
- Use 5% acidity vinegar when your tested recipe specifies it, and never dilute the vinegar beyond the tested ratio.
- Follow current boiling-water processing times for your exact jar size and elevation rather than relying on old canning instructions.
- Give your finished pickles a few weeks to develop before opening them, assuming your family doesn’t find them first.
- Use your pickles on charcuterie boards, on sandwiches, or in our Tartar Sauce recipe!

Easily make charcuterie boards with your pickles!
Want more of the science behind the food you make every day? Listen to Chef Over Your Shoulder, where we break down the techniques, kitchen questions and strong chef opinions that don’t always fit neatly into a recipe.
About Jody and Kirstie
Jody O’Malley and Kirstie Herbstreit are the Red Seal certified chef co-owners of The Culinary Studio in Waterloo, Ontario. Jody is a Stratford Chefs School graduate (2002) and Kirstie trained at SAIT in Calgary (2003). Together, they bring over 20 years of professional cooking experience and 15 years building one of Canada’s leading culinary education businesses. They teach home cooks the science and techniques behind great food, not just the recipes, and co-host the Chef Over Your Shoulder podcast alongside Amy Schlueter.


![churros press from spain ]](https://blog.theculinarystudio.ca/wp-content/uploads/2025/01/churros-press-300x260.jpg)


